
Open-Source Blender Add-ons · Python
My Add-Ons
I build Blender add-ons with Python and Claude Code to take the busy work out of 3D, so I can spend more of my time on the art!
Smart Seams
Blender add-on · Python · GPL-3.0
Why I made it
I made every object on this page by hand, and they're being used in a project. Hand-painted textures and complex models take a ton of time, and UV unwrapping is the kind of busy work that eats into it. So I teamed up with Claude Code to build a tool that does that part faster, which leaves me more time for the creative stuff where human effort really counts. It's already helping me and my senior thesis film team keep our focus on the artistry!
Blender's Smart UV Project and Substance Painter's auto-unwrap tend to give you UVs that:
- cut right through the middle of surfaces instead of following clean edge loops,
- put seams anywhere, even in plain sight,
- break one object into a bunch of tiny shells.
Smart Seams never lets UVs overlap, keeps stretching to a minimum, and gives less texture space to the parts nobody sees (undersides, faces sitting on the floor, inside faces).
Hand-made UVs vs Smart Seams
On the left are the UVs I unwrapped by hand for this lamp base, on the right is what Smart Seams made from the same model. First a checker texture (even, square tiles mean no stretch), then a stretch heat map, then both UV layouts.
UV layout
Left is a hand-made unwrap of a lamp base, right is Smart Seams on the same mesh.
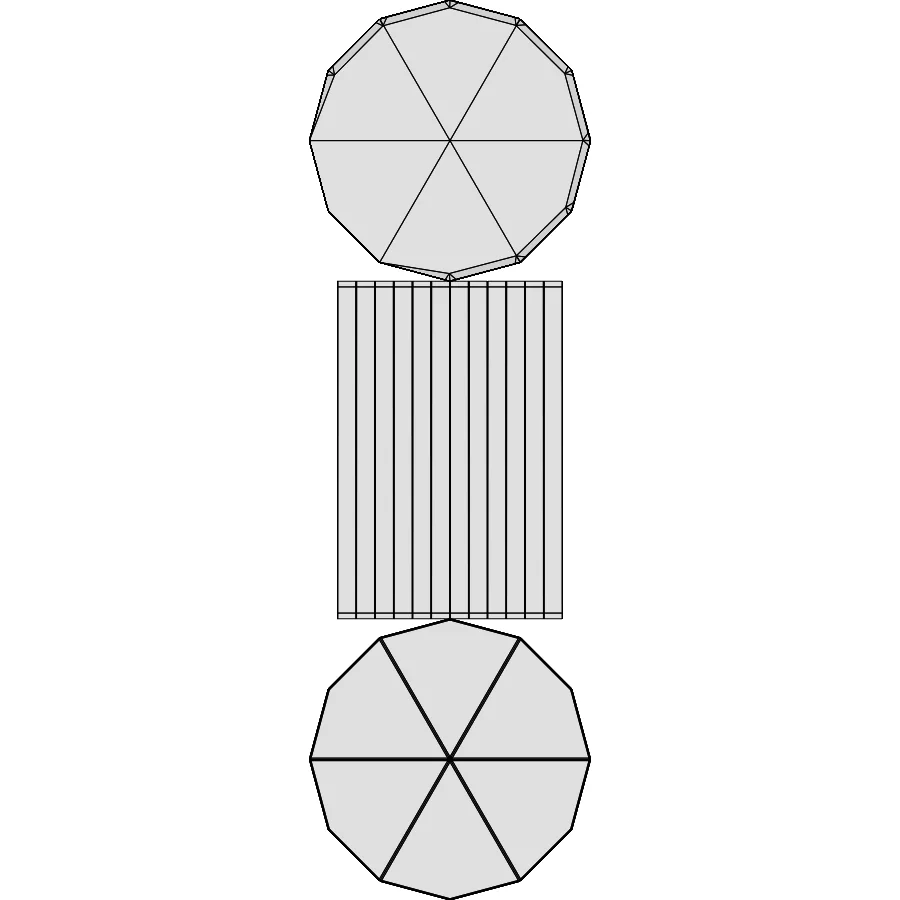
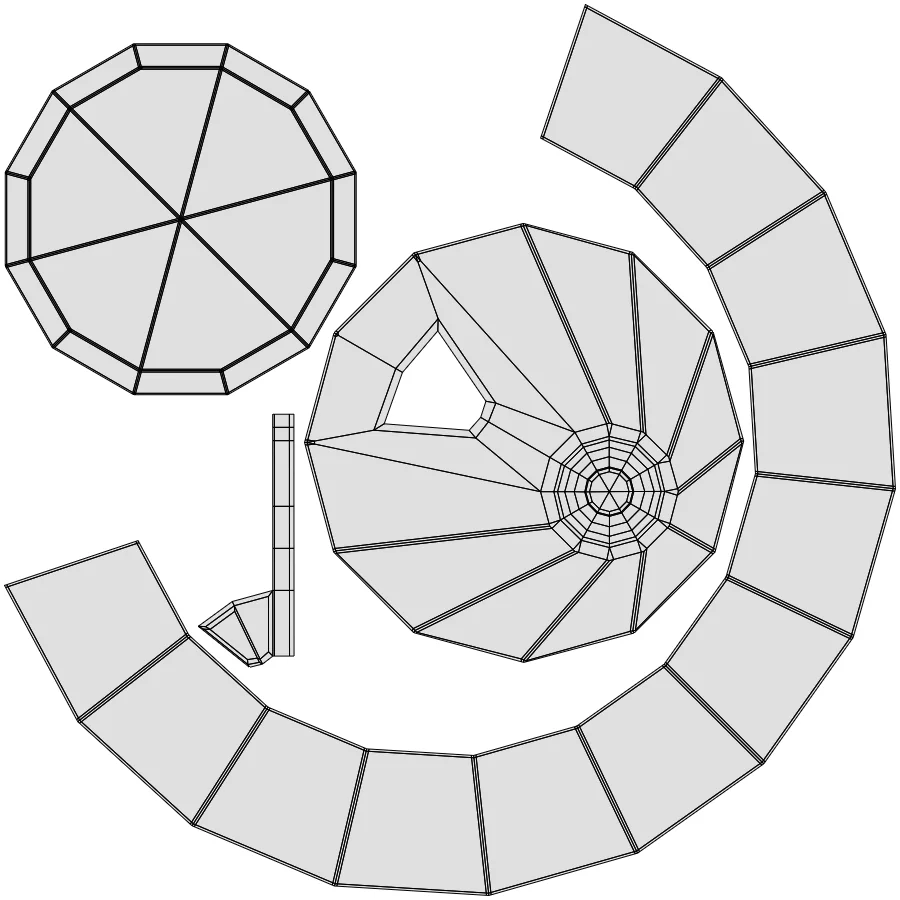
Before and after: the lamp base
Each color is its own UV shell, and the red lines are seams.
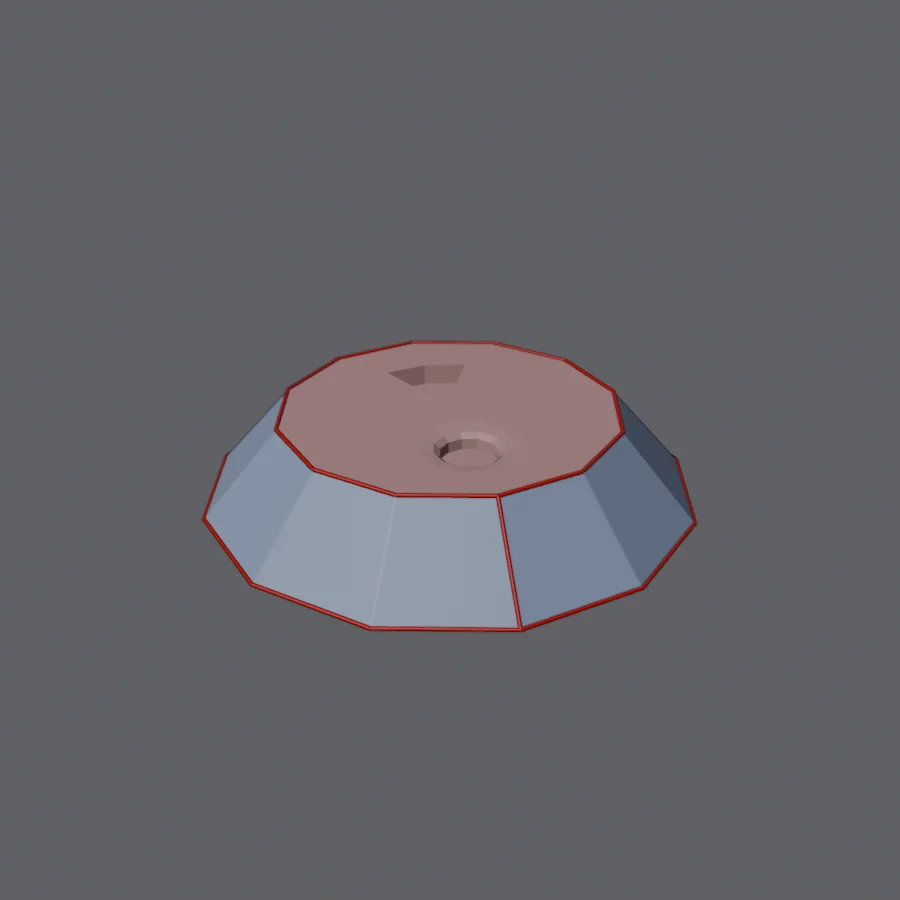
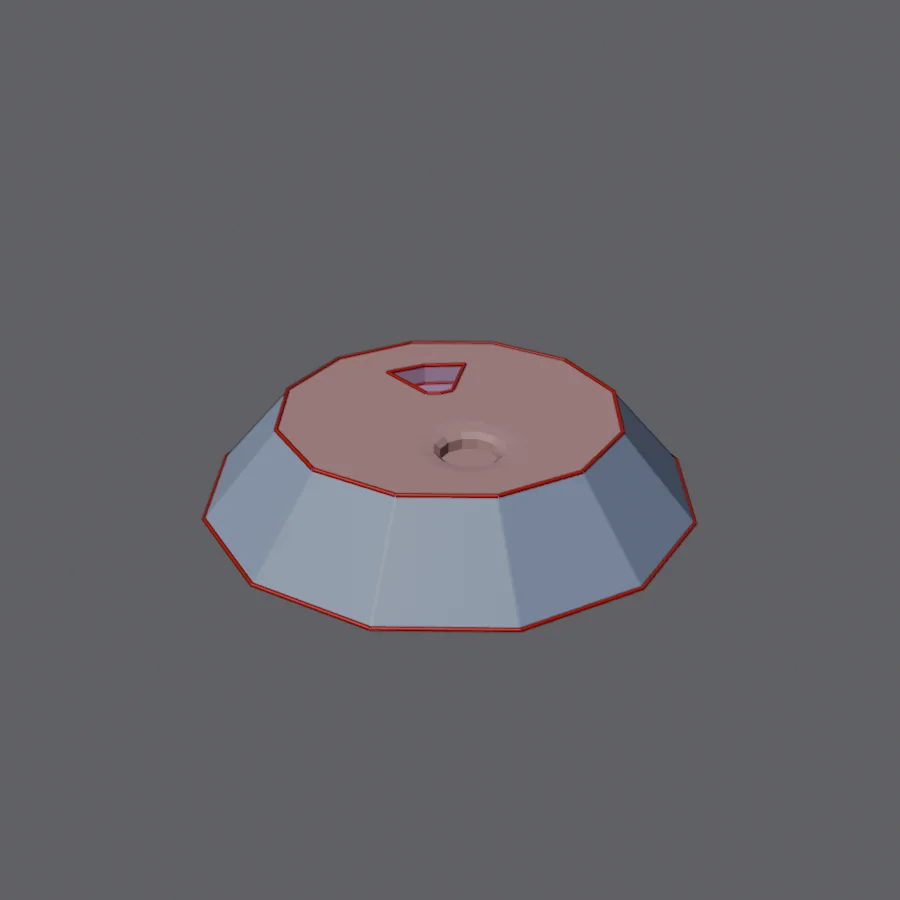
From below
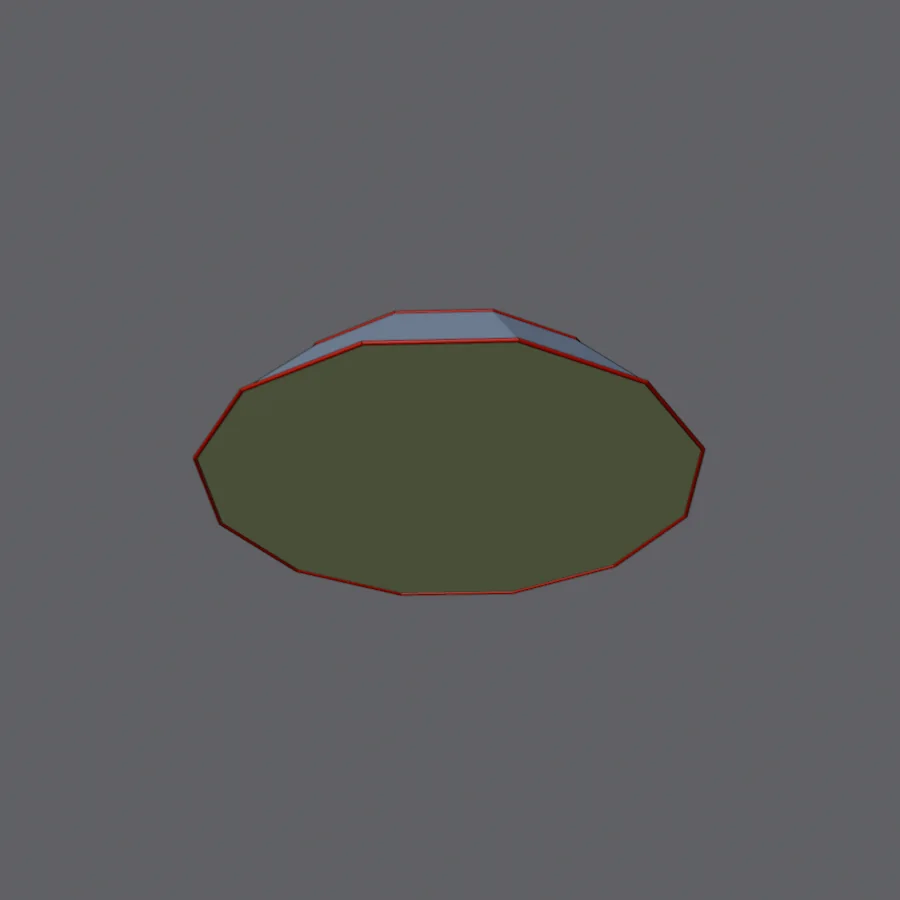
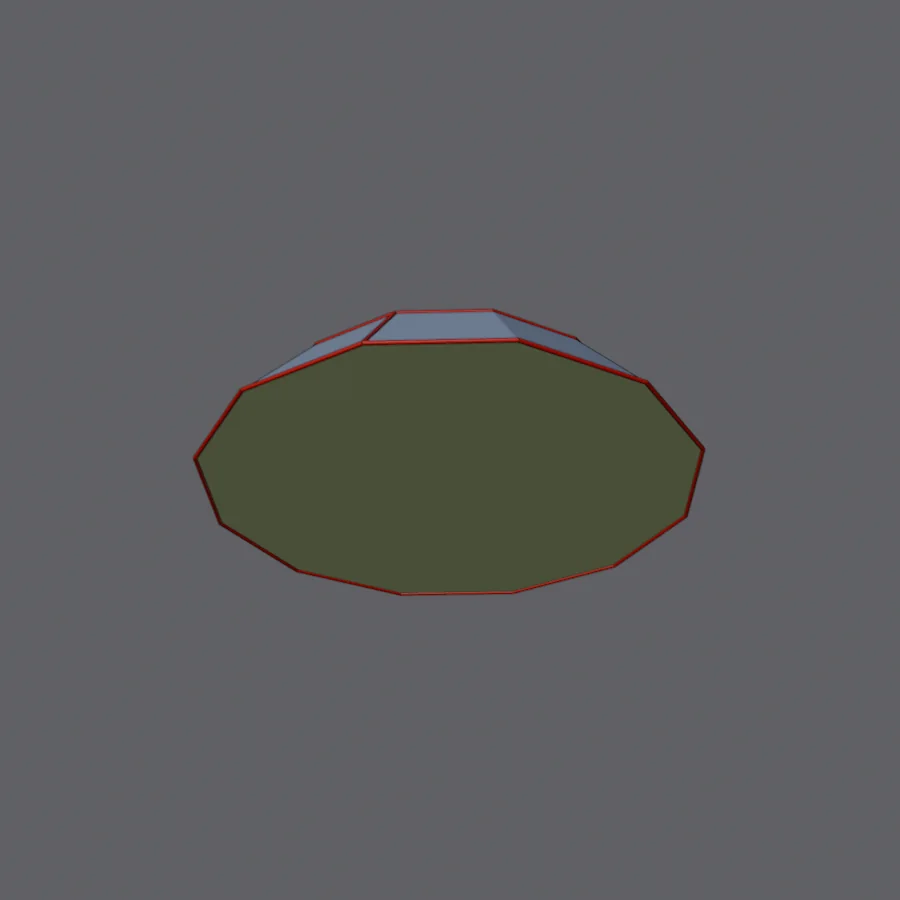
Checker texture (stretch test)
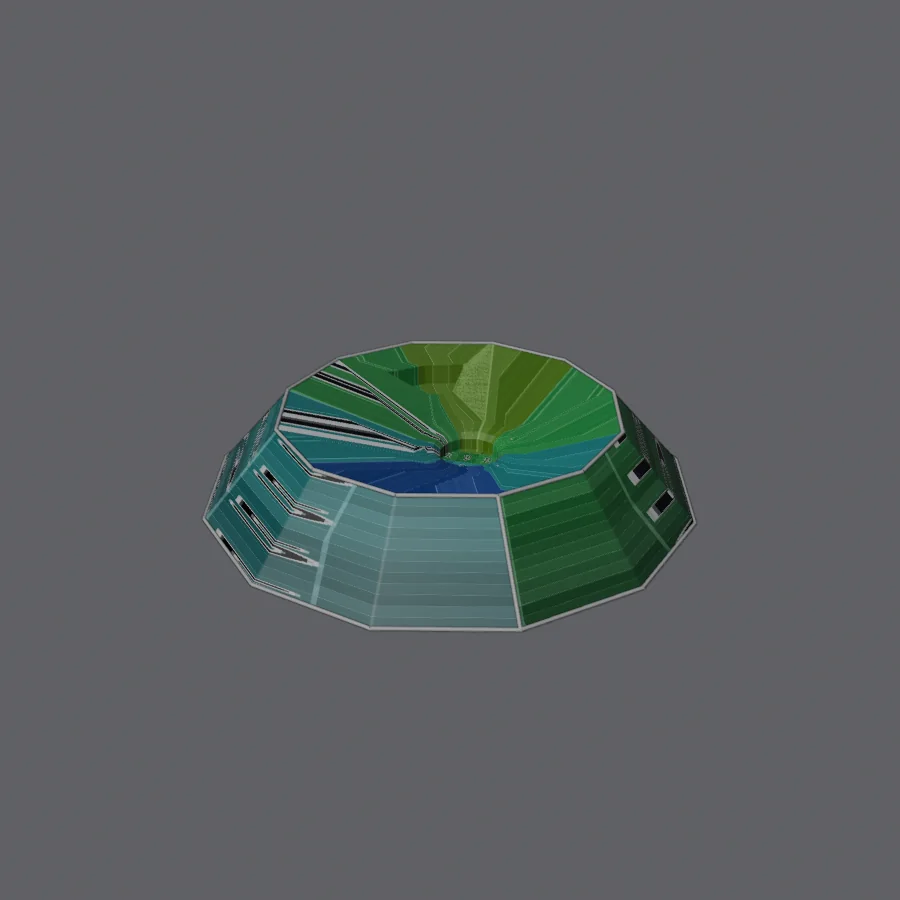
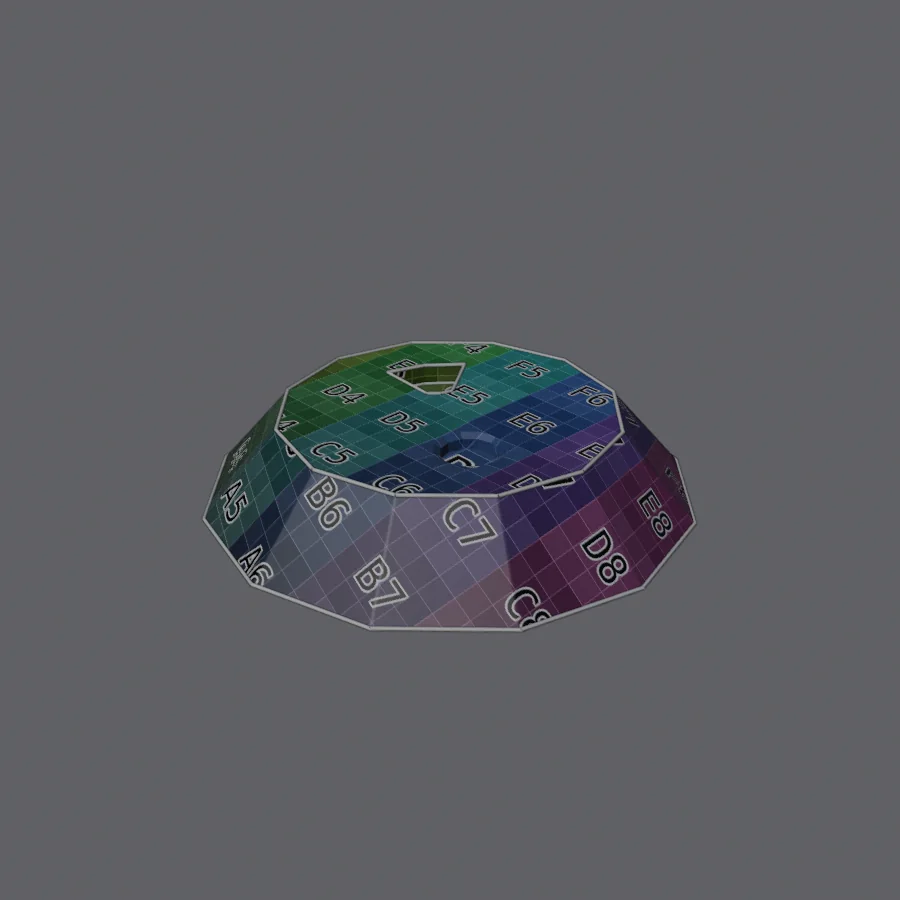
Results
| Hand-made | Smart Seams | |
|---|---|---|
| UV shells | 3 | 4 |
| UV overlap | 2.4% | 0% |
| Flipped faces | 82 | 0 |
| Worst stretch | 9.63 | 0.06 |
| Mean angle error | 31.0° | 0.1° |
| Seam length | 5.6 | 6.6 |
Smart Seams uses one more shell and a little more seam than the hand-made version, but in exchange every shell lies flat, with no overlap, no flipped faces and almost no stretch. It also only uses as many shells as it needs: one for a cube, three for a cylinder and four for the lamp base.
Simple shapes
Cube: 1 shell Cube UV layout: the four sides as one strip, caps at its foot Cylinder: 3 shells (wall and 2 caps) Cylinder UV layout Lamp base: 4 shells (top with holes, bottom, side band, triangle recess) Lamp base UV layout
How it works
When I unwrap by hand, I don't place seams one edge at a time. I look at an object as panels (the tabletop, each side of a leg, the wall of a hole) and decide which ones belong together. Smart Seams works the same way:
- It figures out which faces are hard to see (under the tabletop, between the legs, on the floor) and hides seams there.
- It groups faces into panels, and only ever cuts along the edges of a whole panel.
- Round parts like cylinder walls get one clean, straight cut down the least visible side.
- It joins panels into as few shells as it can, and checks every join with Blender's own unwrapper so nothing flips, overlaps or stretches too much.
- Last, it evens out texel density, shrinks the hidden shells and packs everything.
Get it
It's free and open source (GPL-3.0). You need Blender 4.2 or newer. Select a mesh, open the sidebar (N) and hit Smart Seams Unwrap!
Texture Plugger
Blender add-on · Python · GPL-3.0
Why I made it
Every PBR texture set comes as a pile of files: base color, roughness, metallic, normal, height, AO, and sometimes packed maps with three of those squished into one image. Hooking them all up in the Shader Editor by hand means a lot of dragging nodes around and remembering which ones need Non-Color, which normal maps need their green channel flipped, and so on. It's the same few minutes of busy work every single time, so I made Texture Plugger with Claude Code to do it for me.
Point it at a folder (or drag the images into Blender) and it:
- figures out which map is which from the filenames, including the naming styles from Poly Haven, ambientCG, Quixel/Megascans, Substance, Poliigon and Unreal/Unity,
- wires every map into a Principled BSDF with the right color space,
- handles DirectX normal maps, bump, displacement, opacity, emission and packed maps (ORM, ARM, MaskMap and friends),
- can be run again without ever making duplicate nodes, and only ever removes the nodes it made itself.
Before and after
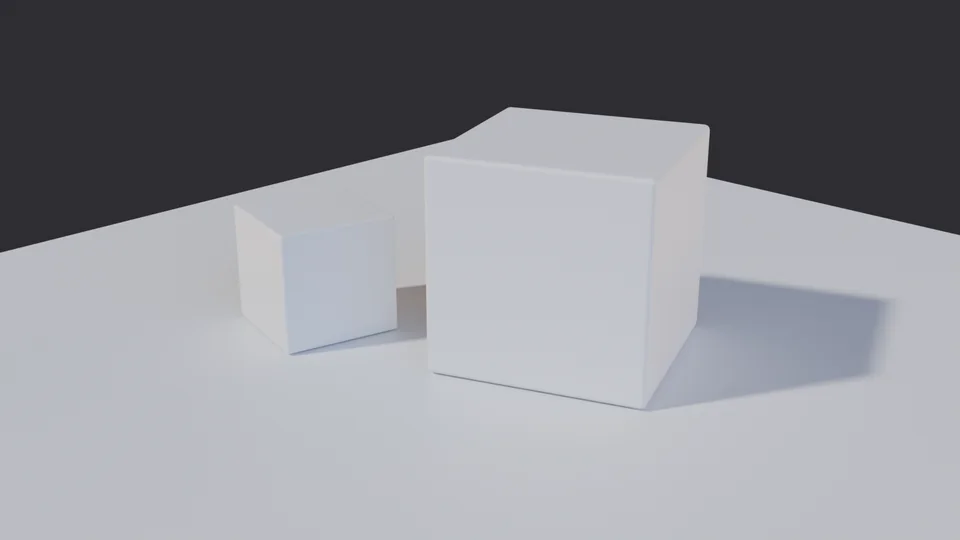
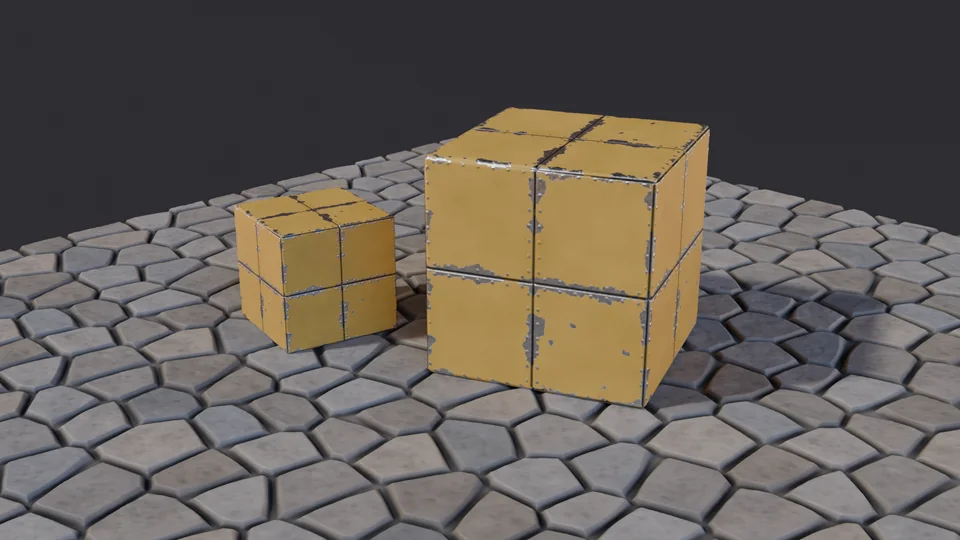
The same scene before and after loading two texture folders, one for the floor and one for the crates. Rendered in Cycles.
From a folder to a material
The folder: two sets with different naming styles, and what each file was detected as The panel: every map it found, ready to switch off, re-type or swap before you hit Apply The stone set: AO multiplied into Base Color, an OpenGL normal map and real displacement The metal set: the DirectX normal gets its green channel flipped, and the packed ORM map is split into AO, Roughness and Metallic
I made the example textures procedurally just for these screenshots.
What it hooks up
| Map | Goes into | Color space |
|---|---|---|
| Base Color | Base Color (times AO, if there is one) | sRGB |
| Roughness, Metallic | Straight in | Non-Color |
| Gloss | Inverted into Roughness | Non-Color |
| Normal (OpenGL or DirectX) | Normal Map node | Non-Color |
| Height | Displacement or Bump | Non-Color |
| Packed (ORM, ARM, MaskMap) | Split into its channels | Non-Color |
| Emission | Emission Color | sRGB |
| Opacity | Alpha | Non-Color |
Everything lands in a labelled frame with a tidy, repeatable layout, so the node tree stays readable. If a folder has more than one texture set, you can pick which one to use, and every map can be swapped or switched off before you hit Apply.
Get it
It's free and open source (GPL-3.0). You need Blender 4.5 or newer. Open the sidebar (N), go to the Texture Plugger tab and hit Load Texture Set!